NatePose
Cart
0
Sign In
My Account
Home
About
Gallery
Blog
Vlog
Shop
Cart
Contact
Hike and Hit
Back
About Hike & Hit
Hike & Hit 1
Hike & Hit 2
Hike & Hit 3
Hike & Hit 4
Hike & Hit 5
Hike & Hit 6
Hike & Hit 7
Hike & Hit 8
Hike & Hit 9
Hike & Hit 10
Hike & Hit 11
Hike & Hit 12
Hike & Hit 13
Hike & Hit 14
Hike & Hit 15
Sign In
My Account
Cart
0
Home
About
Gallery
Blog
Vlog
Shop
Cart
Contact
Hike and Hit
About Hike & Hit
Hike & Hit 1
Hike & Hit 2
Hike & Hit 3
Hike & Hit 4
Hike & Hit 5
Hike & Hit 6
Hike & Hit 7
Hike & Hit 8
Hike & Hit 9
Hike & Hit 10
Hike & Hit 11
Hike & Hit 12
Hike & Hit 13
Hike & Hit 14
Hike & Hit 15
NatePose
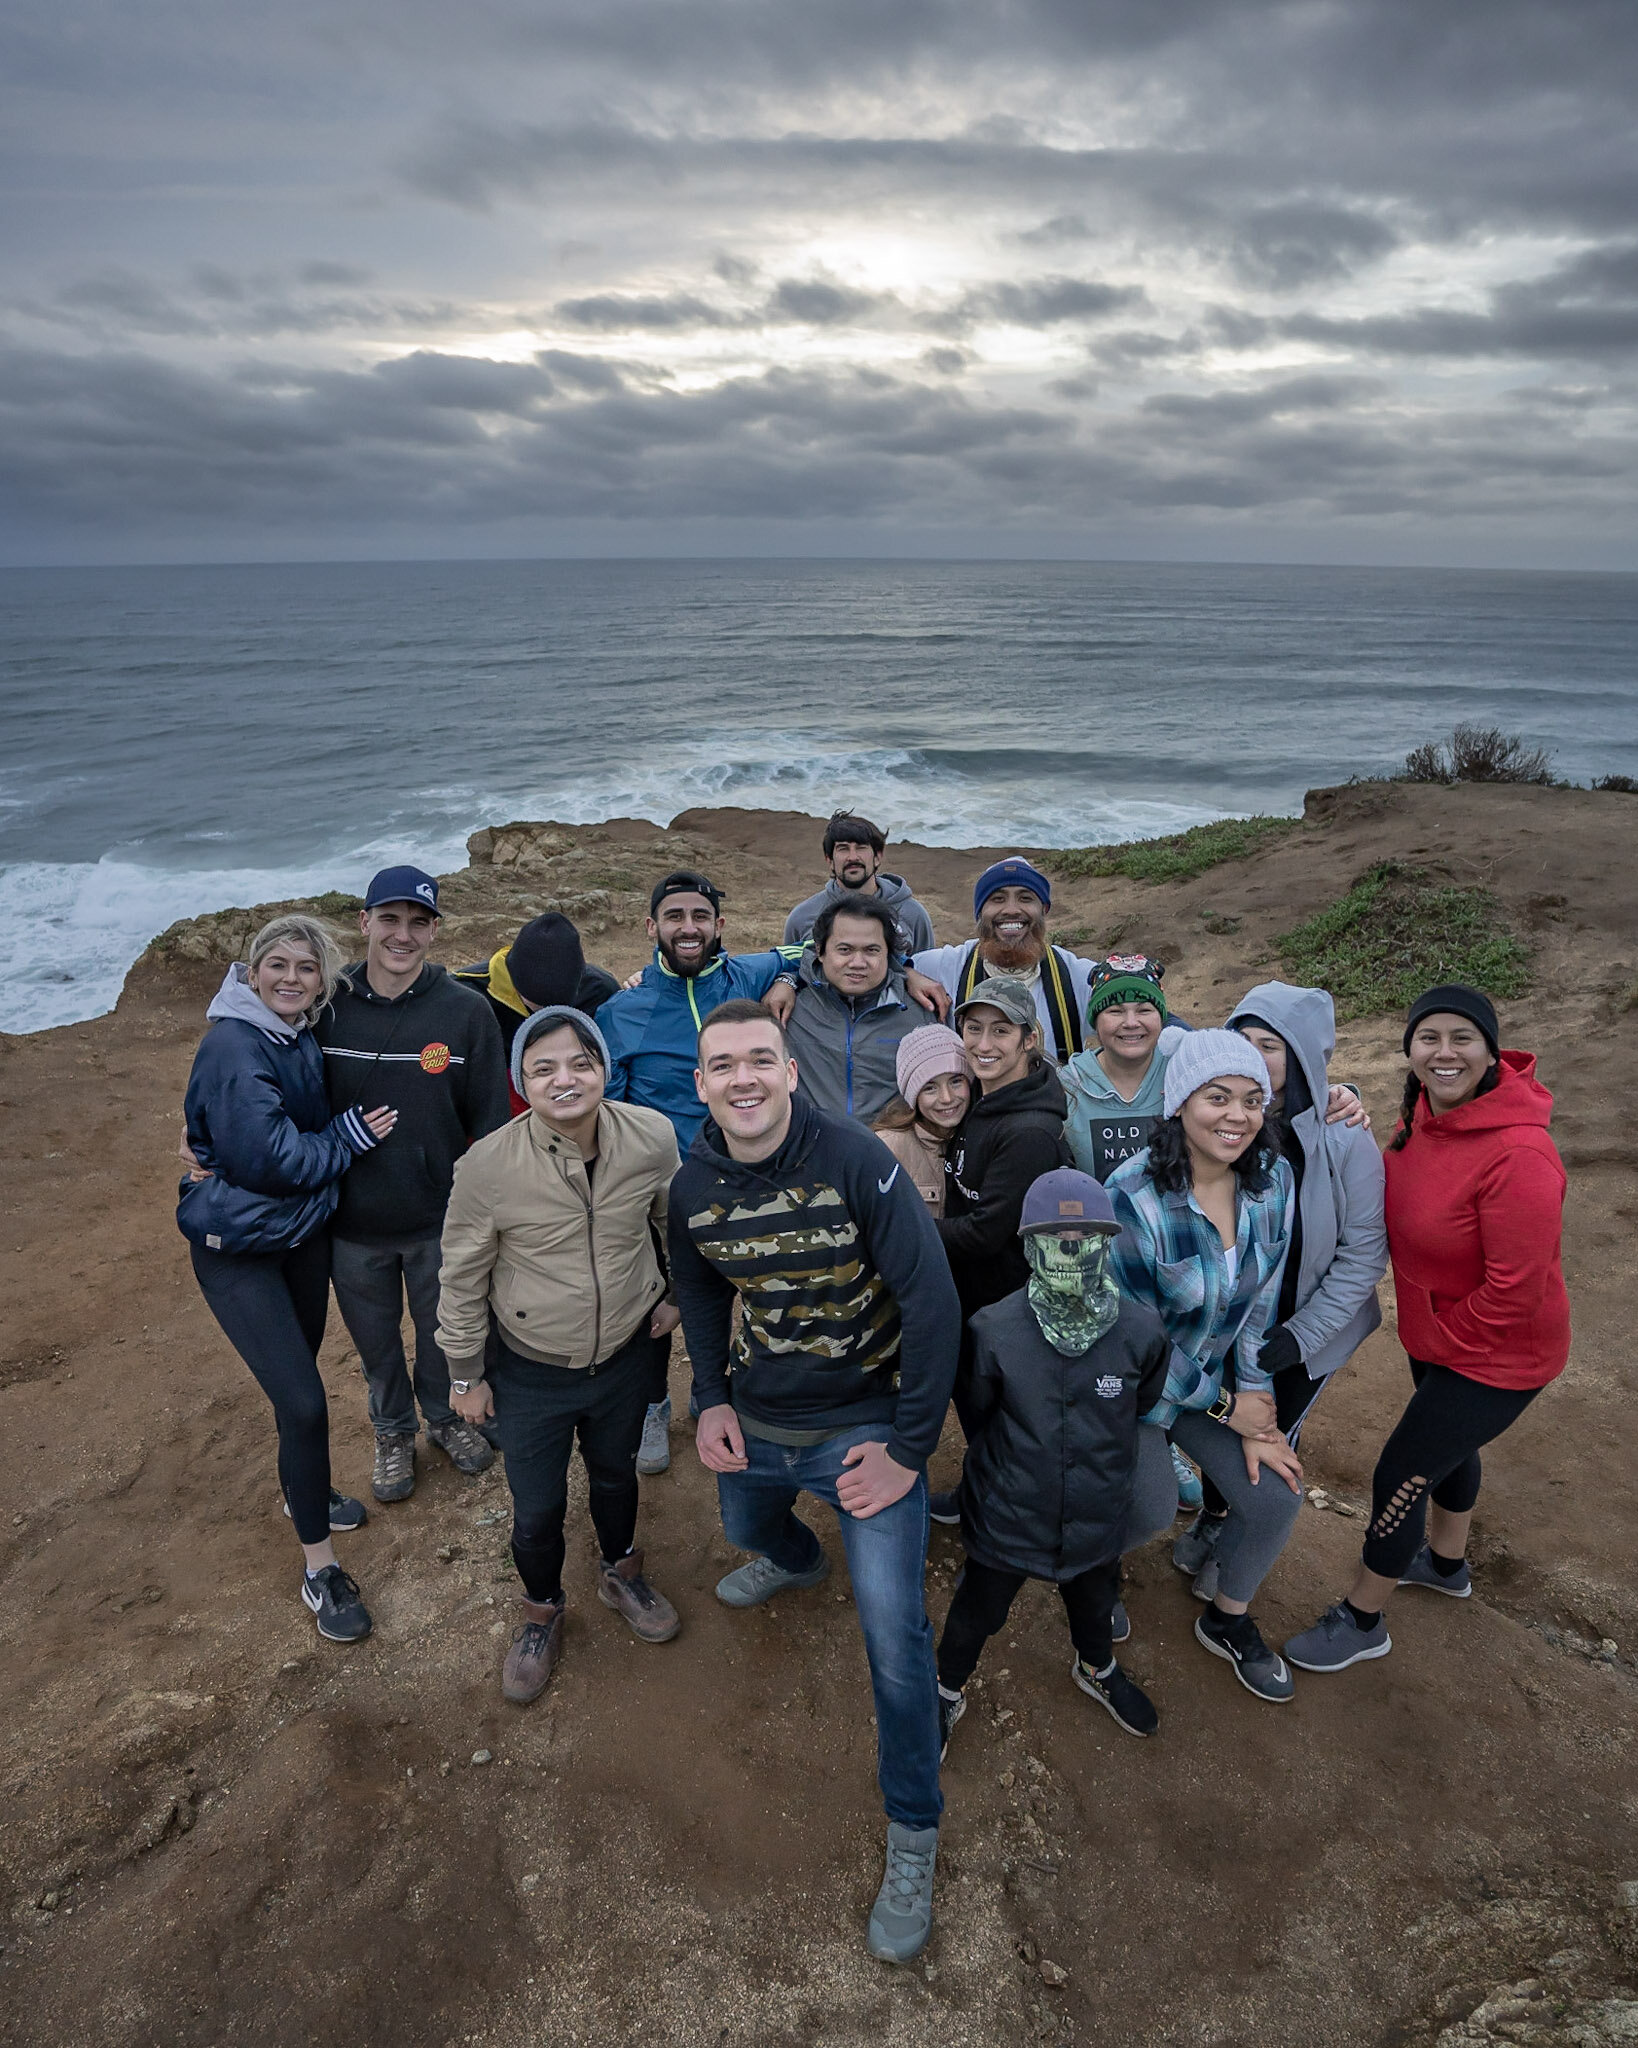
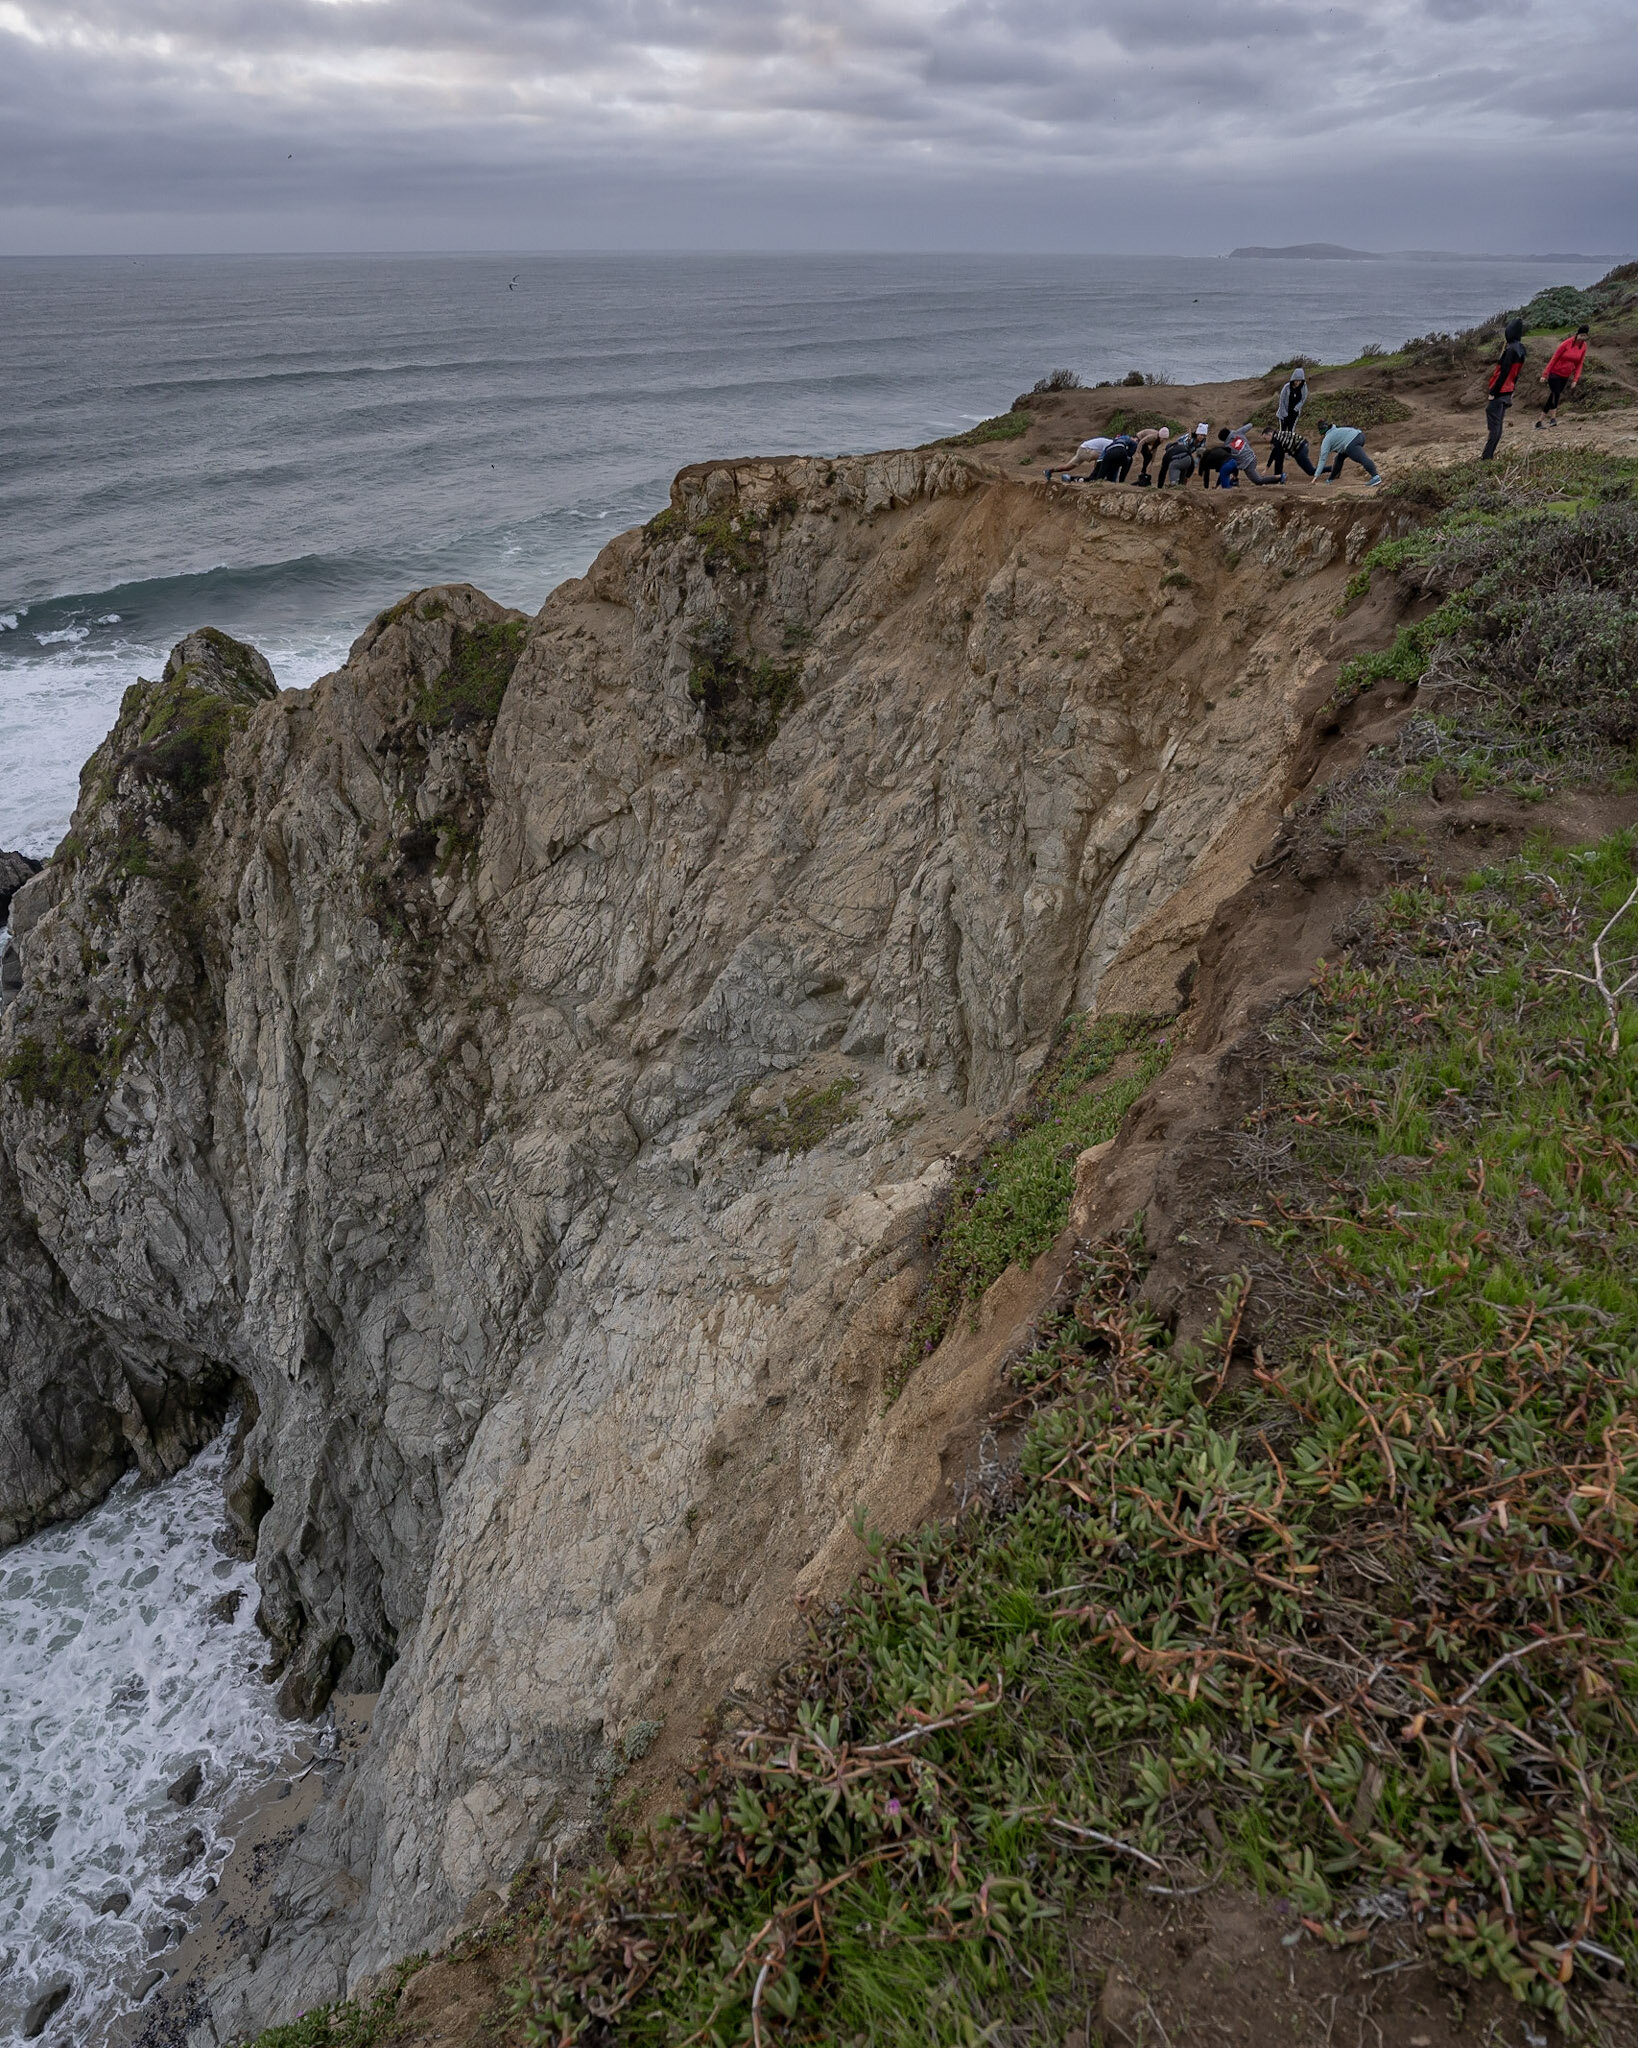
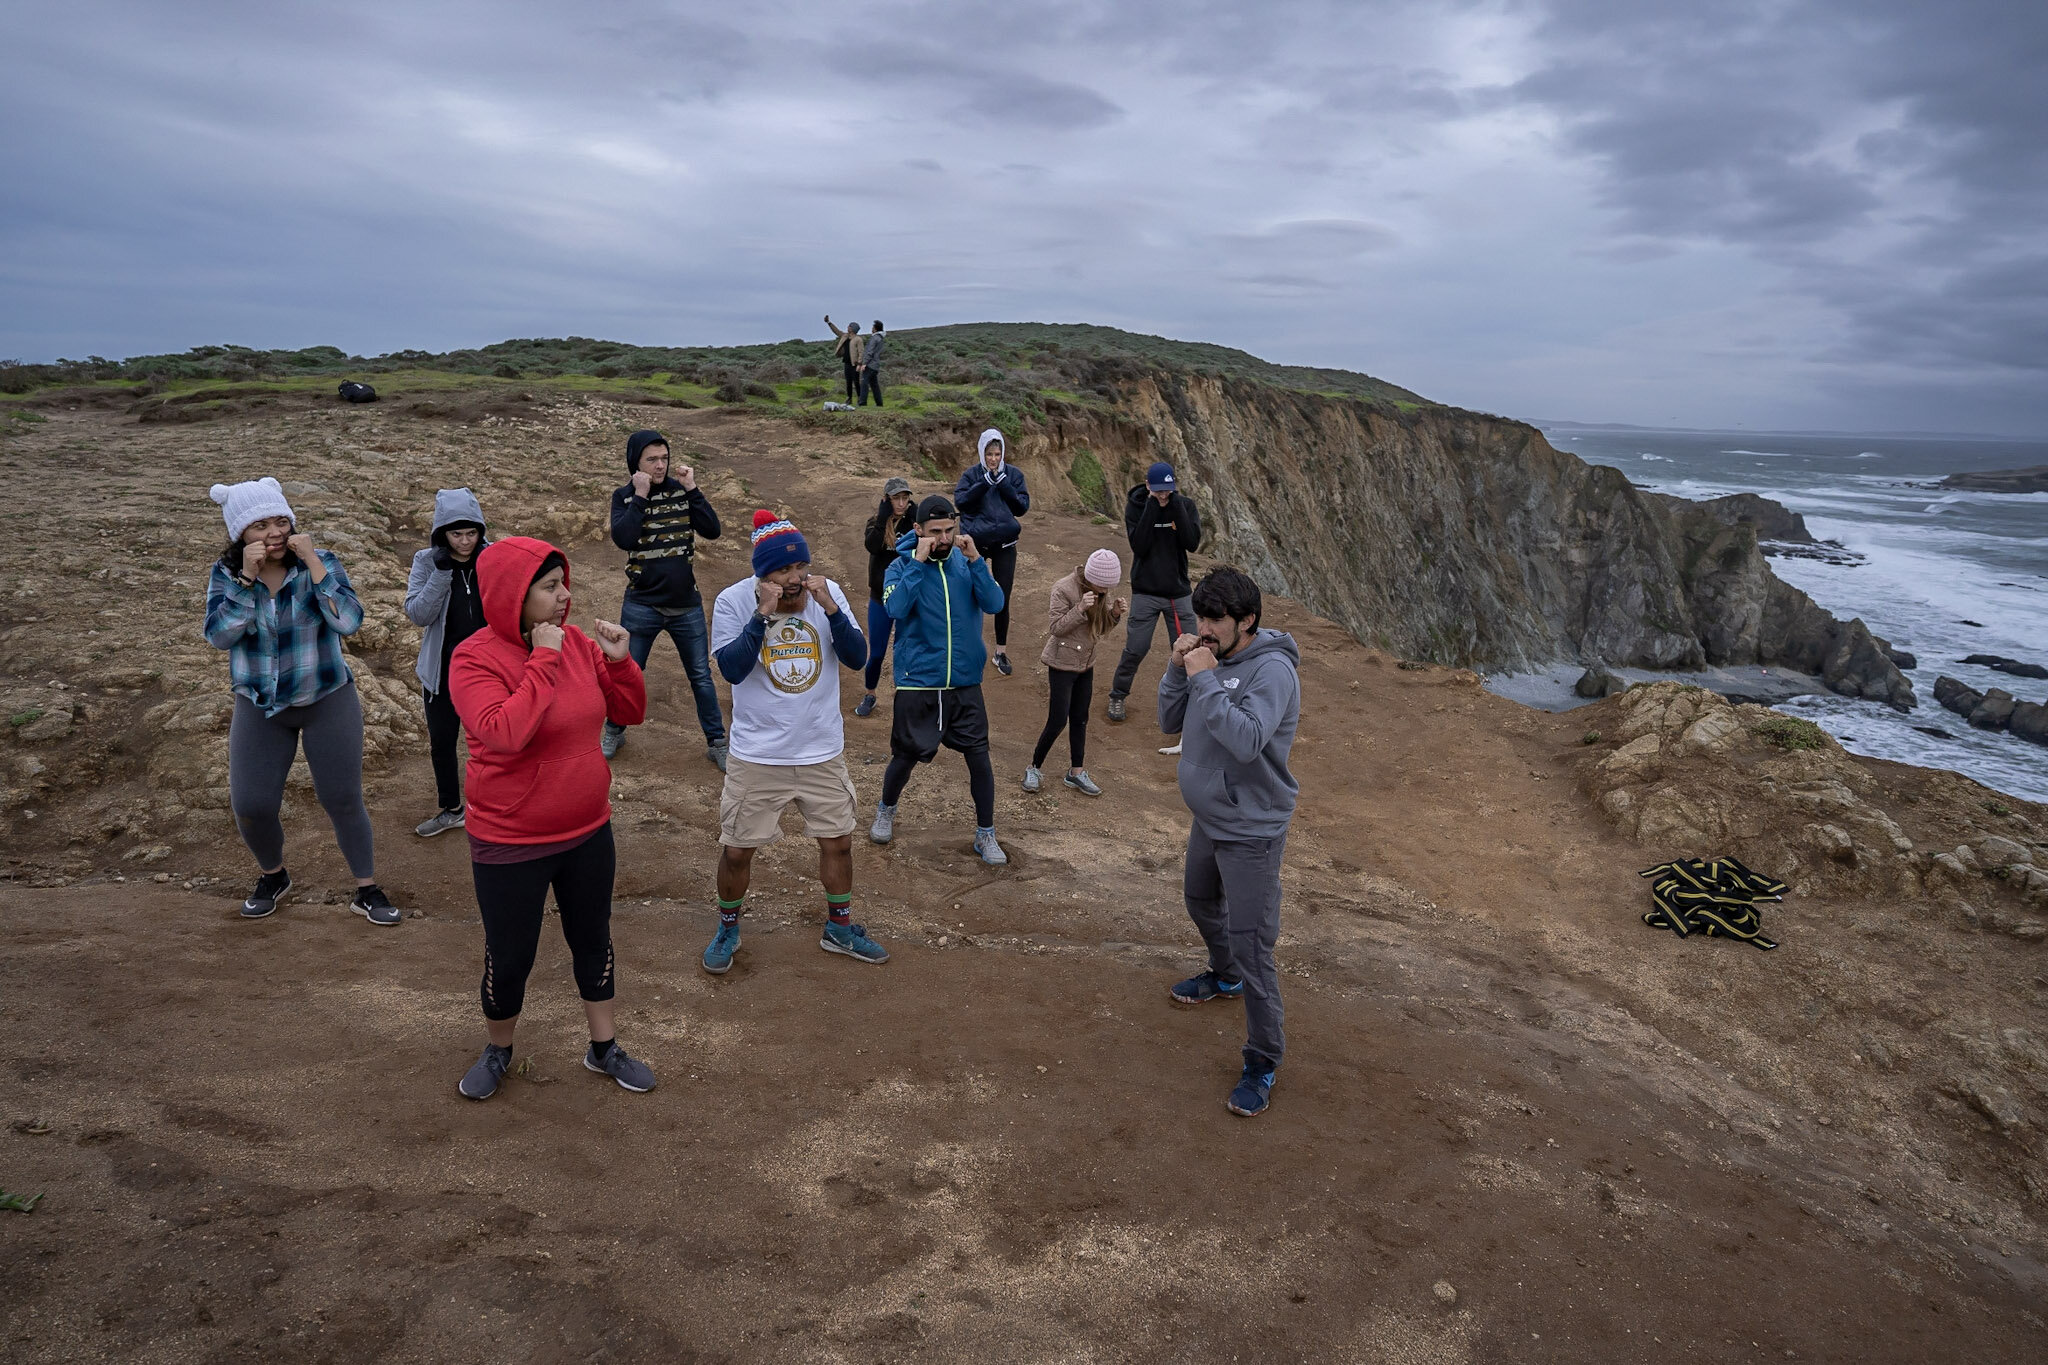
Hike & Hit 12 - Tomales Point - 12/21/19
Photos Courtesy of: Brett Macadam //
@macadamphotography
View fullsize
View fullsize
View fullsize
View fullsize
View fullsize
View fullsize
View fullsize
View fullsize
View fullsize
View fullsize
View fullsize
View fullsize
View fullsize
View fullsize
View fullsize
View fullsize
View fullsize
View fullsize
View fullsize
View fullsize
View fullsize
View fullsize
View fullsize
View fullsize
View fullsize
View fullsize
View fullsize
View fullsize
View fullsize
View fullsize
View fullsize
View fullsize
View fullsize
View fullsize
View fullsize
View fullsize
View fullsize
View fullsize
View fullsize
View fullsize
View fullsize
View fullsize
View fullsize
View fullsize
View fullsize
View fullsize
View fullsize
View fullsize
View fullsize
View fullsize
View fullsize
View fullsize
View fullsize
View fullsize
View fullsize
View fullsize
View fullsize
View fullsize
View fullsize
View fullsize
View fullsize
View fullsize
View fullsize
View fullsize
View fullsize